Step-by-Step Guide to Operating a Hot Plate Welding Machine Safely
Hot plate welding is a widely used thermal plastic joining process known for creating strong, hermetic seals. However, operating the machinery involves high temperatures and moving parts, making safety the paramount concern. This comprehensive guide provides a step-by-step approach to ensure safe and effective operation of a hot plate welding machine.
1. Pre-Operation Safety Preparation
Before powering on the machine, a thorough preparation phase is critical to prevent accidents.
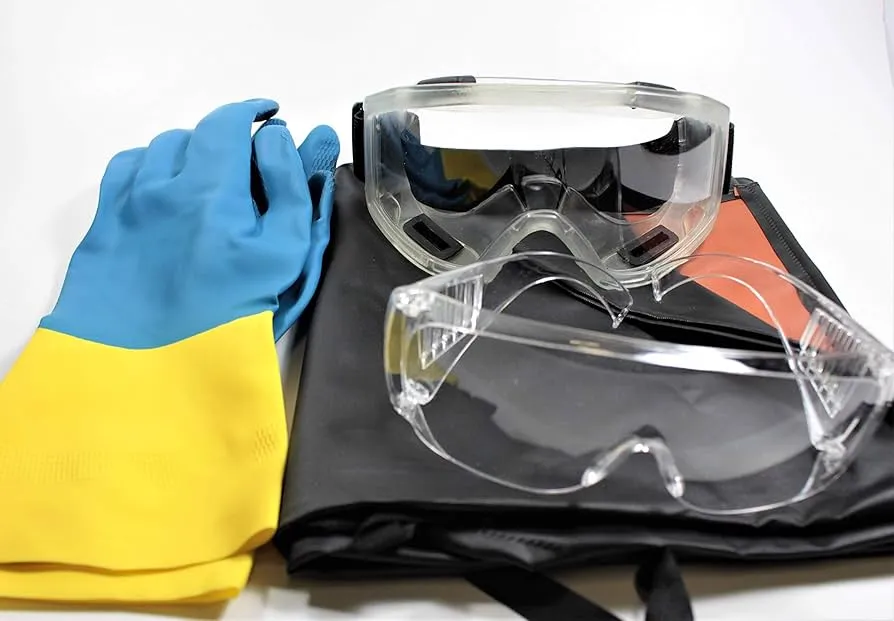
1.1 Personal Protective Equipment (PPE)
Always wear the appropriate PPE. This is non-negotiable.
- Heat-Resistant Gloves: Protect hands from the hot plate and heated parts.
- Safety Glasses or Face Shield: Guard against potential molten plastic splatter.
- Long-Sleeved Clothing & Apron: Made from natural fibers to protect skin from heat and burns.
- Closed-Toe, Steel-Toe Shoes: For foot protection from falling parts.
1.2 Machine and Workspace Inspection
Conduct a visual and functional check of the machine and its environment.
- Workspace: Ensure the area is clean, dry, and free of flammable materials.
- Machine Integrity: Check for any visible damage to cables, guards, or the hot plate surface.
- Safety Guards: Verify that all safety interlocks and protective guards are in place and functional.
- Ventilation: Confirm that fume extraction systems are operational if welding certain plastics.
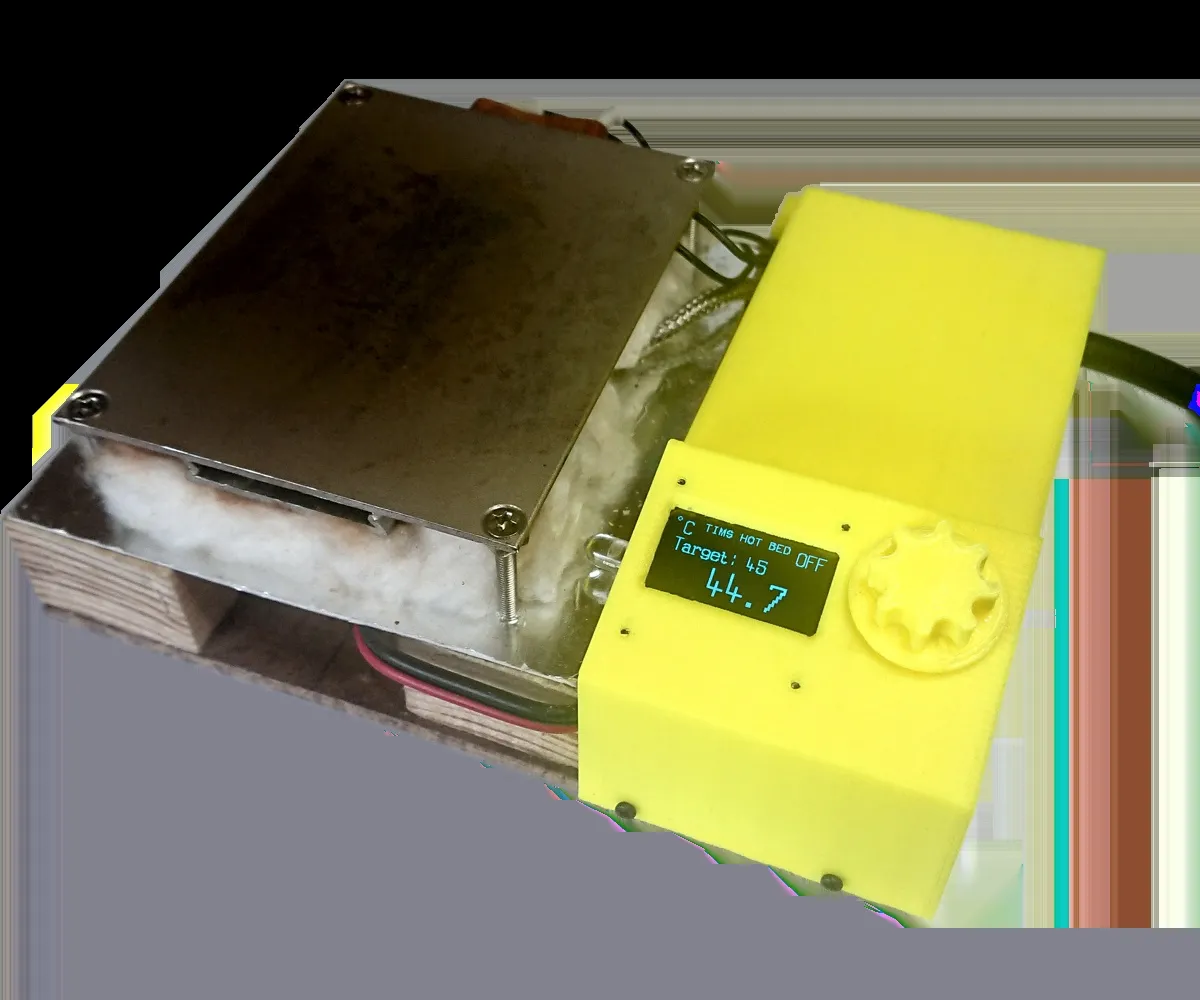
2. Machine Setup and Heating Phase
Proper setup ensures consistent weld quality and operator safety.
2.1 Powering On and Parameter Setting
Turn on the main power. Using the control interface (often an HMI or PLC), input the correct welding parameters for your specific material and part design. These parameters are typically determined during process validation.
| Parameter | Typical Range | Purpose |
|---|---|---|
| Hot Plate Temperature | 200°C - 250°C | Melt the plastic surfaces without degradation. |
| Heating Time (Soak Time) | 20 - 40 seconds | Duration parts are held against the hot plate. |
| Changeover Time | 3 - 10 seconds | Time between plate retraction and part joining. |
| Welding Pressure | 1.5 - 3.0 N/mm² | Force applied to fuse the molten surfaces. |
| Welding / Hold Time | 20 - 60 seconds | Time under pressure for fusion and cooling. |
2.2 Heating and Stabilization
Initiate the heating cycle. The hot plate will heat to the setpoint temperature. Allow sufficient time for the temperature to stabilize across the entire plate surface. An uneven plate can cause inconsistent welds.
3. The Welding Cycle: Step-by-Step Operation
Execute the welding cycle with deliberate, careful actions.
3.1 Loading the Parts
With the hot plate in its safe, retracted "home" position, securely clamp the two plastic parts into their respective fixtures (tooling). Ensure they are aligned correctly and seated fully.
3.2 Initiating the Cycle
Press the two-handed start buttons (if equipped) or the cycle start button. Using two hands ensures they are away from the closing area.
3.3 Heating Phase
The machine will automatically bring the parts into contact with the hot plate. Do not touch the machine or reach into the weld area during this phase. Observe from a safe distance.

3.4 Changeover and Joining
After the heating time elapses, the hot plate retracts, and the two molten surfaces are brought together under pressure. The machine holds this position for the preset welding/hold time.
3.5 Cooling and Part Removal
Once the cycle completes and the machine opens, allow the welded assembly to cool in the fixture for a few additional seconds if possible. Use heat-resistant gloves to carefully remove the part, as it may still be hot. Place it on a heat-resistant surface or cooling rack.
4. Post-Operation and Maintenance Safety
Safety procedures continue after the last weld is made.
4.1 Shutdown Procedure
Allow the hot plate to cool to a safe temperature (below 80°C) before turning off the main power, unless the machine has an automatic cool-down cycle. Clean any plastic residue from the plate and fixtures using proper tools (e.g., brass scrapers) to prevent buildup.
4.2 Routine Maintenance Checks
Follow the manufacturer's maintenance schedule. Key checks include:
- Inspecting and calibrating heating elements and temperature sensors.
- Checking hydraulic/pneumatic systems for leaks.
- Verifying the alignment of platens and fixtures.
- Testing all emergency stop buttons and safety interlocks weekly.

5. Emergency Procedures
Know how to react instantly to a problem.
- Emergency Stop (E-Stop): Immediately press the large red E-Stop button if any part of the body is caught, or if uncontrolled motion occurs.
- Fire: Use a Class C (electrical) or Class B (flammable liquids) fire extinguisher. Never use water on an electrical or oil fire.
- Burn Injury: Cool the burn immediately under cool, running water for at least 10-15 minutes. Seek medical attention for serious burns.
By meticulously following this step-by-step guide, operators can harness the full potential of hot plate welding technology while maintaining the highest standards of personal safety and product quality. Remember, safety is not a single step but an integral part of every action taken with the machine.