How to Laminate Without a Machine at Home - Complete Guide
Introduction to Home Lamination
Lamination is an excellent way to preserve important documents, photos, and other paper items from damage caused by moisture, dirt, and general wear and tear. While professional laminating machines are convenient, they can be expensive and take up significant space. Fortunately, there are several effective methods to laminate documents at home using common household items and affordable materials. This comprehensive guide will walk you through various techniques, from simple DIY approaches to more professional alternatives.
Understanding Lamination and Its Benefits
Lamination involves encasing a document between two layers of plastic film, creating a protective barrier. This process offers multiple advantages:
| Benefit | Description | Importance |
|---|---|---|
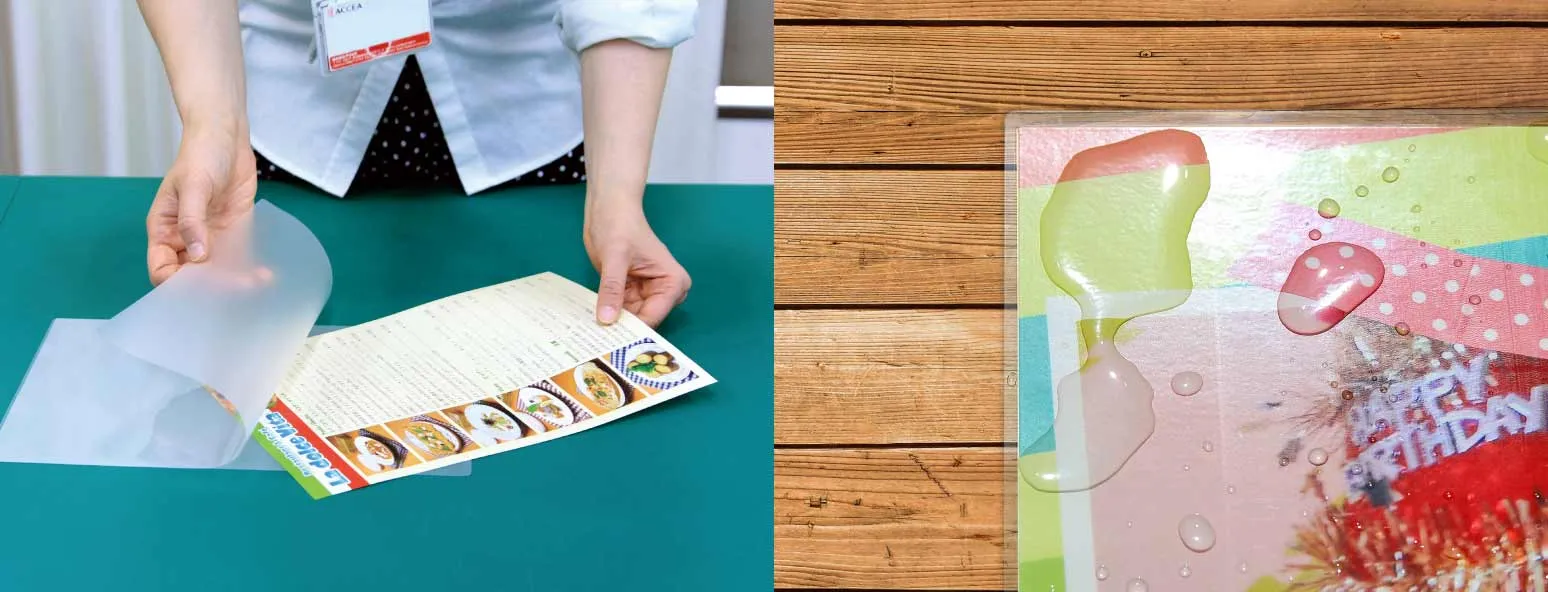
| Water Resistance | Protects against spills, humidity, and moisture damage | High |
| Durability | Prevents tearing, creasing, and general wear | High |
| UV Protection | Shields against fading from sunlight exposure | Medium |
| Cleanability | Allows easy cleaning with damp cloth | Medium |
| Professional Appearance | Enhances visual appeal of documents | Medium |
Method 1: Self-Adhesive Laminating Sheets
Materials Needed
- Self-adhesive laminating sheets
- Document to be laminated
- Scissors or paper cutter
- Clean, flat surface
- Ruler or credit card
Step-by-Step Process
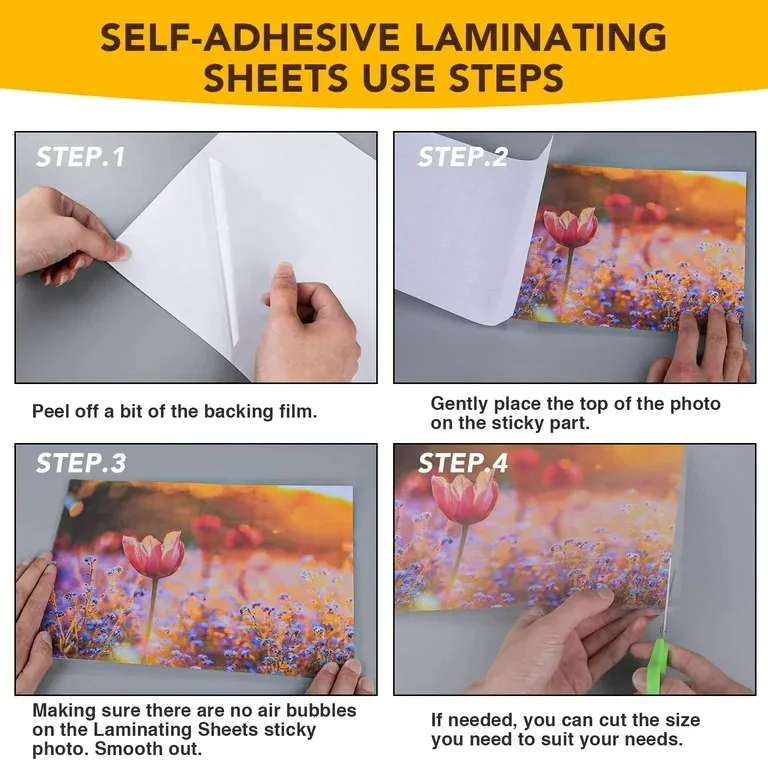
Self-adhesive laminating sheets are one of the easiest and most accessible methods for home lamination. These sheets come with a protective backing that you peel off to reveal an adhesive surface.
- Prepare Your Workspace: Clean your work surface thoroughly to avoid trapping dust or debris under the laminate.
- Cut the Laminating Sheet: Trim the laminating sheet to size, leaving about ¼ inch border around your document.
- Peel the Backing: Carefully peel back a small portion of the protective backing from one corner.
- Align and Apply: Position your document on the exposed adhesive and slowly smooth it down as you continue peeling the backing.
- Remove Air Bubbles: Use a ruler, credit card, or similar flat object to smooth out any air bubbles from the center toward the edges.
- Trim Excess: Once fully adhered, trim any excess laminate if desired for a cleaner edge.
Method 2: Iron-on Lamination with Packing Tape
Materials Needed
- Clear packing tape (wide width preferred)
- Parchment paper or thin cloth
- Household iron
- Ironing board or heat-resistant surface
- Scissors
Step-by-Step Process
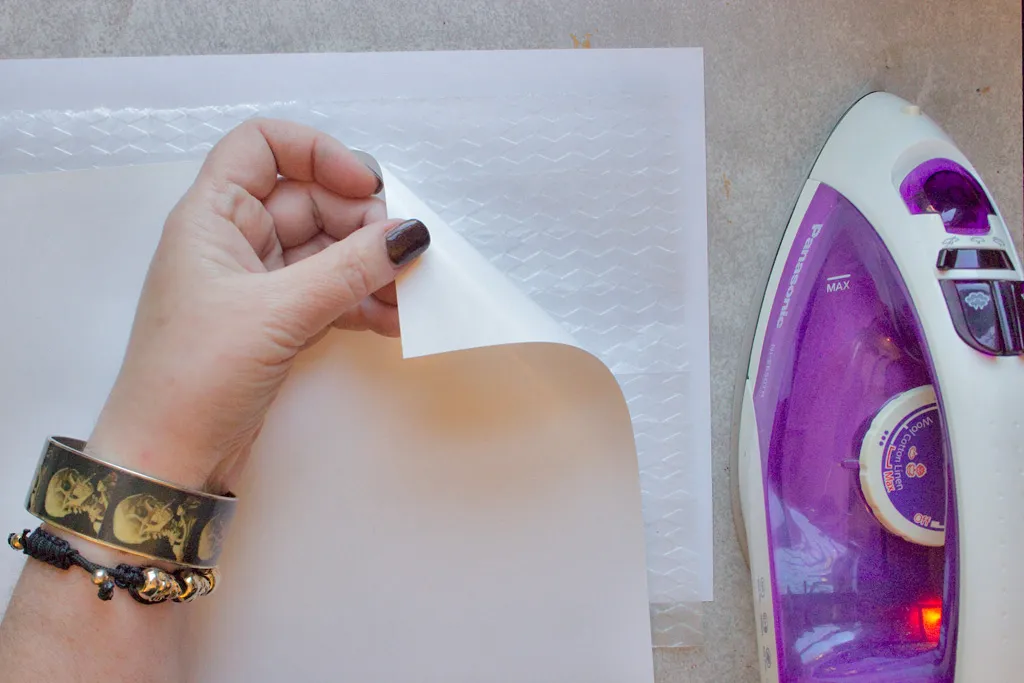
This method uses the adhesive properties of packing tape activated by heat from an iron. It's particularly useful for smaller items and provides a surprisingly professional result.
- Prepare the Document: Ensure your document is clean and dry.
- Apply Packing Tape: Carefully apply strips of packing tape to cover the entire surface of the document, overlapping slightly if necessary.
- Create Protection Layer: Place parchment paper or a thin cloth over the taped document to protect it from direct heat.
- Iron the Document: Set your iron to a low or medium heat setting (no steam). Gently iron over the protected document for 20-30 seconds, applying even pressure.
- Check Adhesion: Lift the protection layer to check if the tape has fully adhered. If not, repeat the ironing process.
- Cool and Trim: Allow the document to cool completely before trimming any excess tape.
Method 3: Contact Paper Lamination
Materials Needed
- Clear contact paper
- Scissors or utility knife
- Ruler or straight edge
- Cutting mat (optional)
- Squeegee or credit card
Step-by-Step Process
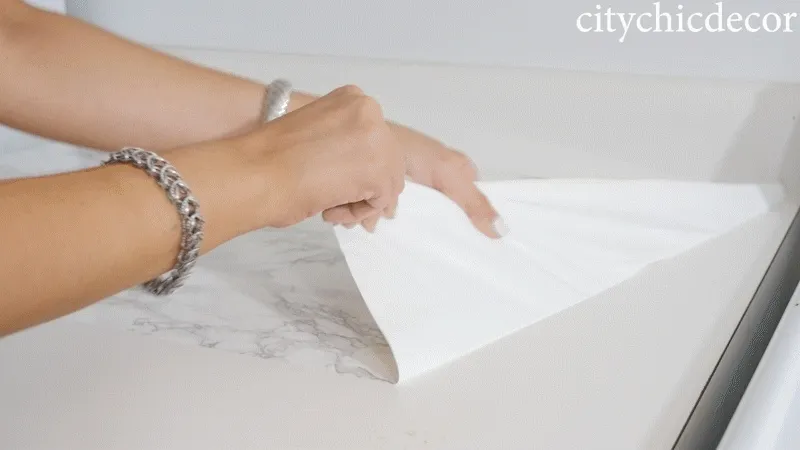
Contact paper is a versatile material commonly used for lining shelves but works excellently for lamination. It's available in most hardware stores and is quite affordable.
- Measure and Cut: Cut a piece of contact paper slightly larger than your document (about 1-2 inches extra on all sides).
- Peel Backing Partially: Peel back a few inches of the backing paper from one end.
- Align and Adhere: Carefully align your document with the exposed adhesive and press it down.
- Gradual Application: Slowly peel away the backing while simultaneously smoothing the contact paper onto the document.
- Remove Air Bubbles: Use a squeegee or credit card to push out any air bubbles from the center toward the edges.
- Trim Edges: Once fully applied, trim the excess contact paper with scissors or a utility knife.
Method 4: Clear Tape Method for Small Items
Materials Needed
- Clear Scotch tape or similar
- Small documents, cards, or photos
- Scissors
- Ruler (for straight edges)
Step-by-Step Process
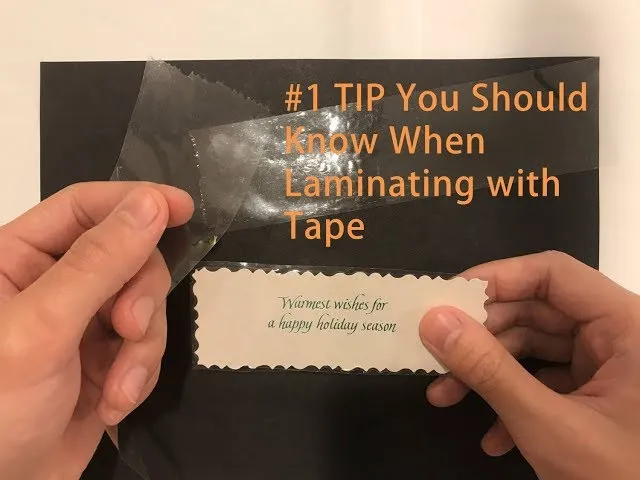
For very small items like business cards, recipe cards, or small photos, regular clear tape can provide adequate protection when applied carefully.
- Apply Tape Strips: Apply strips of tape across the document, overlapping each strip by about 1/8 inch.
- Ensure Full Coverage: Make sure the entire surface is covered with tape, extending slightly beyond the edges.
- Burnish the Tape: Rub firmly over the taped surface with your fingernail or a hard object to ensure good adhesion.
- Repeat for Back Side: If two-sided protection is needed, flip the document and repeat the process.
- Trim Excess: Carefully trim any tape overhanging the edges for a neat finish.
Method 5: DIY Heat Lamination with Kitchen Materials
Materials Needed
- Wax paper or freezer paper
- Household iron
- Ironing board
- Parchment paper (as protection)
- Towel or cloth
Step-by-Step Process
This innovative method uses common kitchen materials to create a laminated effect through heat application. While not as durable as commercial methods, it works well for temporary protection.
- Sandwich the Document: Place your document between two sheets of wax paper or freezer paper.
- Add Protection Layers: Place parchment paper on both sides of the wax paper sandwich to prevent melting onto your iron.
- Iron Carefully: Set iron to low heat (no steam) and press firmly for 15-20 seconds on each side.
- Check Progress: Lift the parchment paper to check if the wax paper has melted evenly onto the document.
- Cool Completely: Allow the document to cool before handling to set the wax coating.
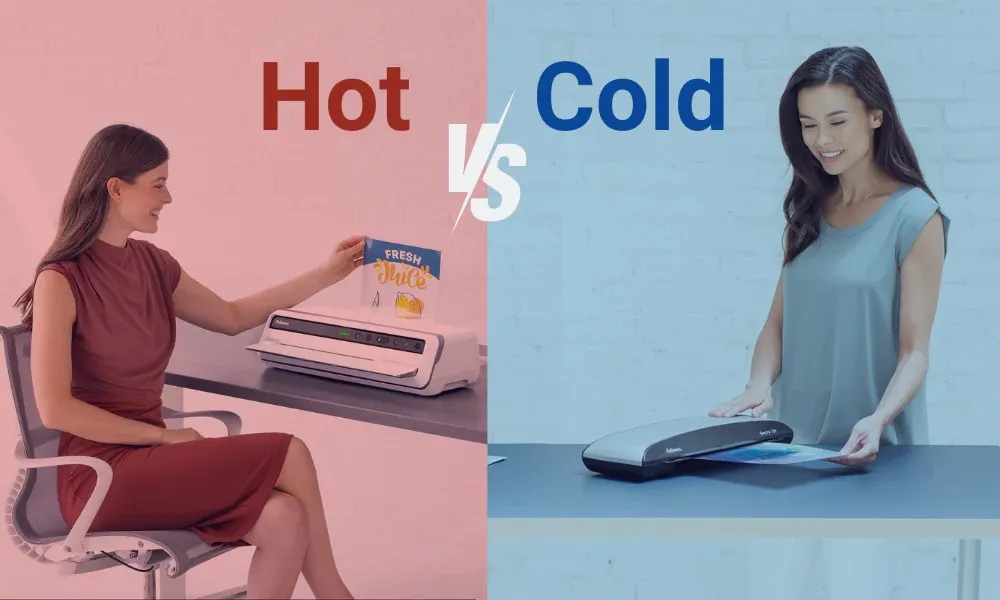
Comparison of Home Lamination Methods
| Method | Cost | Durability | Ease of Use | Best For |
|---|---|---|---|---|
| Self-Adhesive Sheets | $$ | High | Easy | Important documents, photos |
| Iron-on Packing Tape | $ | Medium | Moderate | Small projects, temporary protection |
| Contact Paper | $ | High | Moderate | Large documents, crafts |
| Clear Tape | $ | Low-Medium | Easy | Small items, quick fixes |
| DIY Heat Method | $ | Low | Difficult | Temporary protection, experiments |
Tips for Successful Home Lamination
Preparation is Key
Always start with a clean, dry document free of dust, fingerprints, or smudges. Any imperfections will be permanently sealed under the laminate.
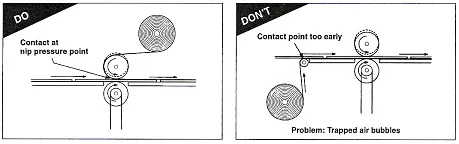
Avoiding Air Bubbles
When using adhesive methods, apply the laminate slowly from one edge to the opposite edge, using a smoothing tool to push out air bubbles as you go.
Proper Trimming Techniques
Use sharp scissors or a utility knife with a straight edge for clean cuts. Consider leaving a small border rather than trimming flush with the document for added protection.
Testing First
Always test your chosen method on a less important document first to perfect your technique before laminating valuable items.
Troubleshooting Common Lamination Problems
| Problem | Cause | Solution |
|---|---|---|
| Air Bubbles | Applying too quickly, dirty surface | Apply slowly, clean surface first, use smoothing tool |
| Wrinkles or Creases | Misalignment during application | Realign carefully, start over if necessary |
| Poor Adhesion | Dust or oil on surface, insufficient pressure | Clean surfaces thoroughly, apply firm pressure |
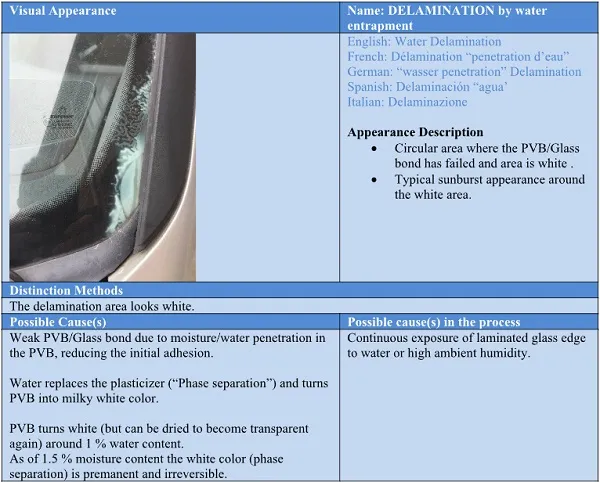
| Cloudy Appearance | Moisture trapped, low-quality materials | Ensure document is completely dry, use quality materials |
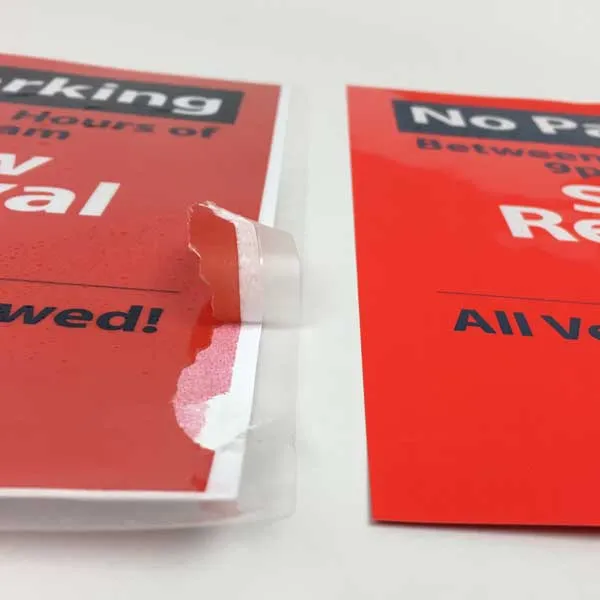
| Edge Lifting | Insufficient coverage, contamination | Extend laminate beyond edges, ensure clean application |
When to Consider Professional Lamination
While home methods work well for many projects, there are situations where professional lamination might be preferable:
- Extremely valuable or irreplaceable documents
- Items requiring archival-quality preservation
- Very large documents beyond typical home material sizes
- Projects requiring specialized finishes (matte, glossy, textured)
- When you need multiple identical items laminated
For occasional needs, many office supply stores, printing centers, and shipping stores offer affordable laminating services.
Creative Uses for Home Lamination
Beyond preserving documents, home lamination opens up numerous creative possibilities:
DIY Projects
- Create waterproof garden labels and plant markers
- Make durable recipe cards for the kitchen
- Preserve children's artwork and school projects
- Create reusable checklists and chore charts
- Make custom placemats and coasters
Practical Applications
- Protect important frequently referenced documents
- Create waterproof instructions for outdoor equipment
- Preserve sentimental items like tickets or letters
- Make ID cards or badges for home or small business use
- Create durable guides for emergency procedures
Conclusion
Laminating without a machine is not only possible but can yield excellent results with practice and the right materials. Whether you choose self-adhesive sheets, contact paper, or innovative methods using household items, you can effectively protect your important documents and unleash your creativity. Start with simpler projects to build your skills, and soon you'll be laminating like a pro without ever needing expensive equipment. Remember that each method has its strengths, so consider your specific needs when choosing which technique to use for each project.